
In short
- Binding off and weaving in ends are key steps for a finished look.
- Blocking helps set the shape and even out stitches.
- Use appropriate needles to make work easier, especially for beginners.
- An accurate swatch guarantees the correct size of your final project.
Mastering knitting tips and finishes is essential to transform a raw piece into a polished, durable garment. Whether you are making a sweater, a scarf, or an accessory, steps like binding off, weaving in ends, or blocking make the difference between an amateur result and a professional finish. For beginners, these techniques can seem intimidating, but with the right needles and careful preparation, they become accessible.
An accurate swatch—for example, a 12 cm square—allows you to anticipate the final size and avoid costly mistakes in yarn or time. Finishes aren't just about aesthetics: they also protect your work from stretching and premature wear, thereby extending the life of your creations.
Blocking, which is often underestimated, is a key step to harmonize stitches and add volume to your work. By slightly stretching the knit stitches while maintaining the tension of the purl stitches, you achieve a smooth, even surface, ideal for sweaters or scarves.
For beginners, prioritize needles between 7 mm and 15 mm, which offer better control without sacrificing precision. Finally, meticulous weaving in ends prevents visible knots and irregularities, while a firm bind-off ensures edges stay neat. These details, though technical, are the hallmark of high-quality work.
Mastering Your Knitting Finishing Steps
Mastering knitting tips and finishes is essential to elevate your projects and give them a professional touch. Neglected finishing can ruin hours of work, turning a sweater or a scarf into a messy piece. Conversely, steps like blocking, binding off, or weaving in ends reveal the full potential of your yarn by smoothing out stitches and consolidating the structure.
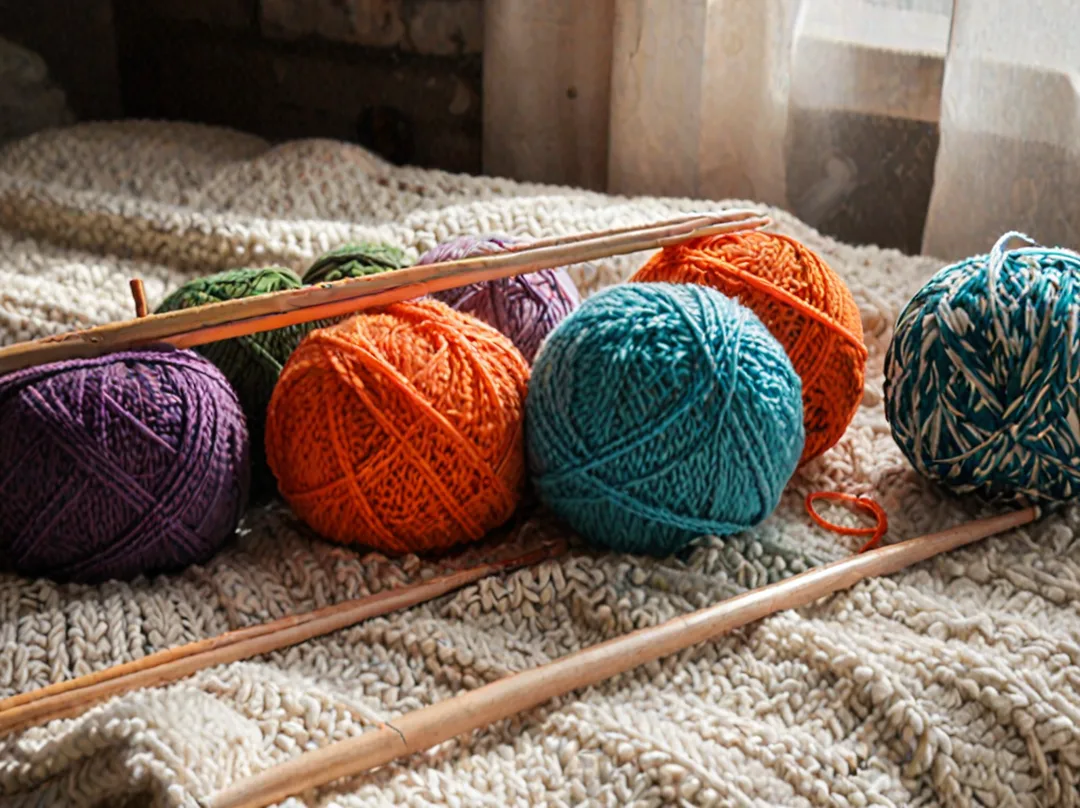
For beginners, these techniques may seem complex, but they rely on simple principles: choosing the right materials, working with precision, and taking your time. Paying particular attention to finishes guarantees not only an aesthetic result but also better resistance to wear, prolonging the life of your creations.
How to finish your knitting?
- Binding off stitches to complete the row
- Weaving in ends for a clean look
- Blocking to give it its final shape
- Seaming pieces together
Here are the four essential steps for impeccable finishes: binding off, which involves neatly closing the stitches of a row to prevent holes; weaving in ends, where each thread is tucked under the stitches for an invisible look; blocking, which adds volume and harmonizes knit stitches and purl stitches; and finally, cleaning, often forgotten, which removes fuzz and yarn residue for a soft feel.
Each step plays a precise role: binding off secures the edges, weaving in ends avoids unsightly knots, and blocking refines the details. For beginners, these techniques might seem intimidating, but by practicing them on small projects, such as a swatch or a strip, you will gain confidence before applying them to more ambitious pieces.
Preparing your project with care
Preparing your project with care begins with creating an accurate swatch, an often-neglected but crucial step to avoid unpleasant surprises. Knit a square of approximately 12 cm following the recommended pattern and tension for your yarn, then count the number of stitches and rows obtained per 10 cm. This step allows you to adjust the starting number of stitches and anticipate the final size of your work, whether it is a sweater or a scarf.
For example, if your swatch gives 20 stitches per 10 cm, you will know exactly how many to cast on to achieve the desired width. For beginners, this method limits the risk of disappointment halfway through, where a piece that is too small or too large can make finishing much more difficult.
Recommended knitting supplies
| Item | Expert Tip |
|---|---|
| Needles | Avoid sizes smaller than 5 mm |
| Beginners | Prioritize 7 mm to 15 mm needles |
| Cable | Choose a length between 60 cm and 1.5 meters |
| Budget | Don't spend $30 on a single skein |
The choice of equipment directly influences the quality of your finishes. For beginners, avoid needles smaller than 5 mm, which make working the stitches tedious and less precise. Prefer needles between 7 mm and 15 mm, depending on your yarn weight, for better control and even tension.
The cable length, between 60 cm and 1.5 meters, depends on the size of your project: a cable that is too short limits movement, while one that is too long can tangle the yarn. Finally, invest in recognized brands to avoid needles that slip or bend, but be wary of yarn skeins costing more than $30, which are often overpriced for similar quality. Good equipment simplifies finishing and reduces frustration, especially during blocking or weaving in ends.
Enhancing the Aesthetics of Your Work
The finishes of a knitted piece are not just a technical step; they transform a project into a unique piece where every detail counts to showcase the yarn and value your work. A neat border, strategically placed bobbles, or perfect weaving in ends are not accidental, but the result of craftsmanship that elevates the quality of a sweater, scarf, or accessory.
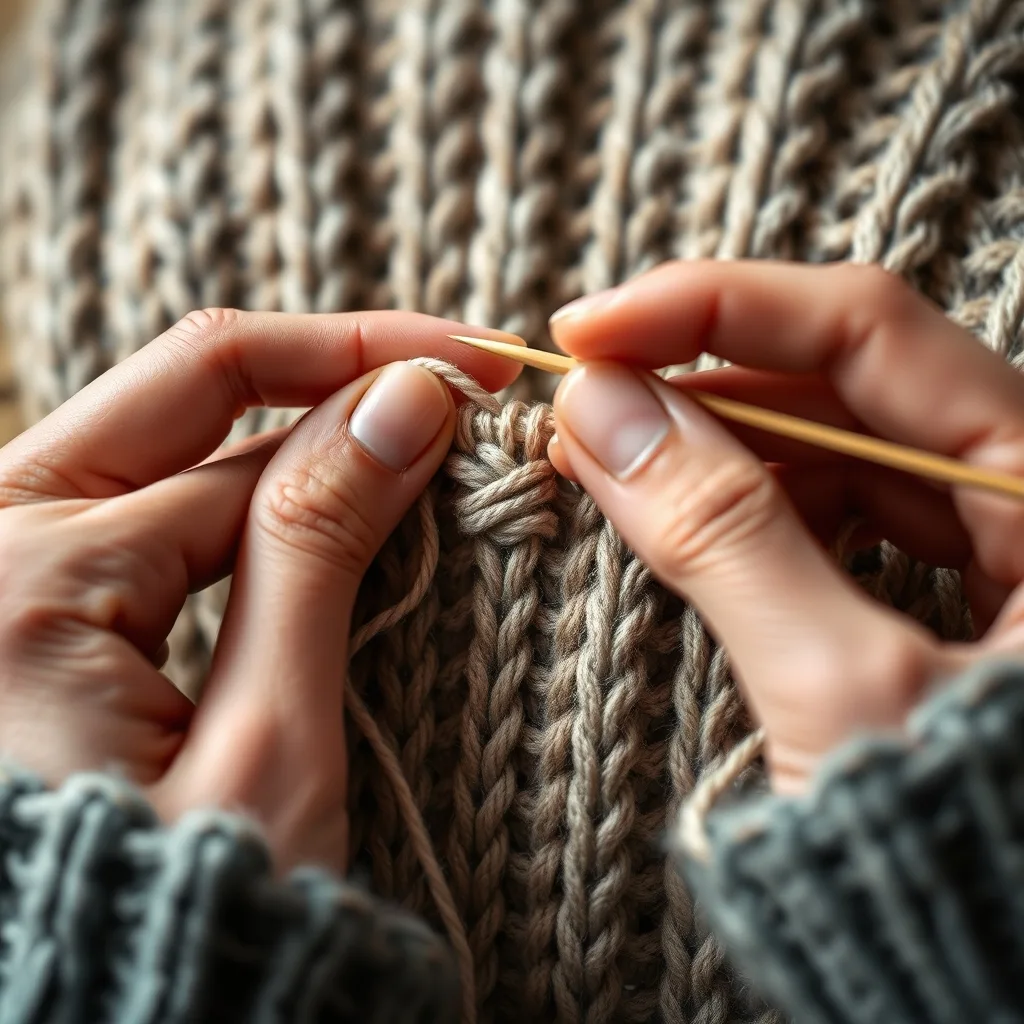
These final touches, often overlooked, make the difference between amateur knitting and a creation that stands out for its elegance and durability. For knitters who care about precision, these tips become allies to give a second life to their work, playing with purl stitches, diagonals, or integrated patterns. The goal? To move from a simple project to a piece that tells a story, where every touch is designed to reinforce overall harmony.
A beautiful knit border finish
To achieve an impeccable knit border finish, the key lies in the consistency and tension of the stitches. A proven method consists of knitting the first 4 or 5 stitches of each row tighter than the rest of the work, adjusting the yarn tension to avoid any loosening. This technique, often used for straight edges like those on a sweater or scarf, helps prevent curling and gives a clean line to your knitting.
The trick is also to choose a knit stitch for these border stitches, as it resists stretching better and offers a smoother look. By ensuring each row is aligned, you achieve a professional effect where the transition between the body of the knitting and the border looks natural. Beginners are advised to test this method on a swatch before applying it to a more ambitious project to refine tension and the number of stitches to tighten.
Using bobbles
Bobbles—those small loops of yarn—are much more than decorative elements: they allow you to create diagonals, patterns, or visual contrasts that energize a piece. Their versatility makes them an indispensable tool for knitters looking to add an original touch to their projects. They can be integrated into the heart of a cable to form an elegant knot, or spaced out on the same row to draw a broken line.
On a sweater, arranging them in diagonals across the entire surface offers a modern graphic effect, while in groups, they evoke clusters or bouquets, ideal for floral patterns. A single bobble, placed near a detail like a button or a seam, highlights a pattern and draws the eye.
Finally, they are used in complex stitch compositions, such as lace or openwork, to enrich texture. Using them requires special attention to yarn tension to prevent them from coming undone, but their visual impact justifies the effort.
- In the heart of a cable for relief
- Spaced out on the same row for a textured effect
- Arranged diagonally across the surface
- In groups to form clusters
- Alone to highlight a specific pattern
Mastering Weaving in Ends and Care
The final finish determines the longevity of your creations. Careful work prevents stitches from unraveling over time and ensures your knitted models maintain their original shape. By taking the time to secure every end, you transform a simple piece into a durable one, capable of withstanding daily use while maintaining an impeccable appearance.
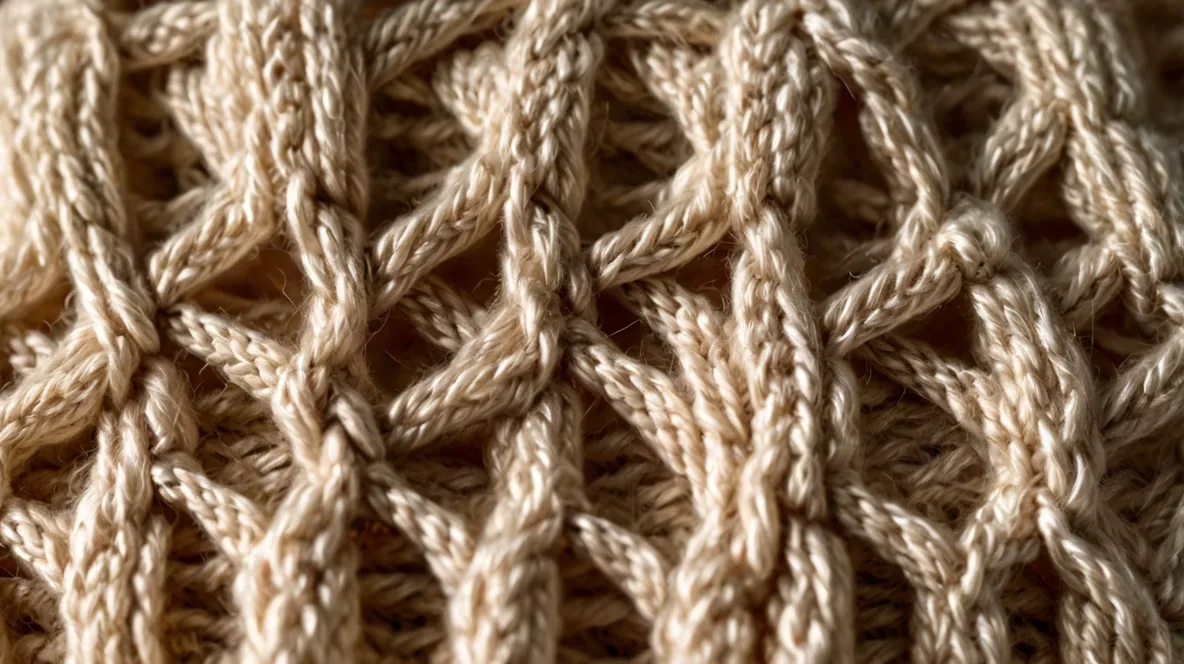
Weaving in ends on stockinette stitch
To achieve an invisible result, it is essential to learn how to weave in ends on stockinette stitch by working exclusively on the wrong side of the fabric. The method consists of threading the yarn onto a yarn needle and progressing diagonally by passing directly through the bumps of the purl stitches, without going around them. You should cross at least 5 to 6 stitches, then change direction or backtrack for another 5 to 6 stitches.
To preserve the flexibility of the sweater, never pull the yarn too hard; leave a little slack when changing directions. Before cutting the yarn while leaving a small tail, stretch the work slightly to check that the fabric doesn't pucker and that the yarn sits naturally without constraining the stitches.
- Pass the yarn through the wrong side of the knitting
- Follow a diagonal path through the purl stitch bumps
- Cross at least 5 to 6 stitches before changing direction
- Leave some slack to maintain the flexibility of the work
- Stretch the fabric slightly before cutting the yarn
How to properly wash handmade knitting?
Preserving wool requires special attention during cleaning to avoid felting or deformation. Knowing how to properly wash handmade knitting helps maintain fiber quality and pattern integrity over the long term. Proper care ensures your projects stay bright and soft, extending the life of your favorite accessories or garments.
- Prioritize hand washing in lukewarm water
- Use a mild detergent dedicated to natural fibers
- Avoid the dryer, which risks felting the wool
- Dry flat to maintain the shape
FAQ
How to finish your knitting? Finishing includes binding off stitches, weaving in ends, blocking, and seaming elements together.
How to get a beautiful knit border? For a clean edge, knit the first 4 or 5 stitches of each row more tightly.
How do you make a bobble? A bobble is a small loop or bump used to decorate a pattern or a cable.
Why should ends be woven in? This prevents loose ends from sticking out and ensures a finished, professional look for the piece.
My knitting has felted, what should I do? Felting is difficult to reverse, but blocking can sometimes help even out the surface.
What are some knitting tips and tricks? Creating an accurate swatch and choosing the correct needle size are two essential tips.
Sources
- Les Triconautes - The 4 finishing steps
- Ladylaine - Knitting expert guide
- Wikipedia - Knitting technique
See also
- knitting gauge
- My first knitted socks!
- knitting a flared dress
- hand-knitted gifts