In short
- Ponchos are primarily knitted using two assembled rectangles or as a single seamless piece.
- For a women's size S: cast on 76 stitches using 6.5 mm needles, knitting to a height of 76 cm before binding off.
- Basic supplies: 11 skeins of merino wool, 6.5 mm needles, and a tapestry needle.
- Easy free patterns are available for beginners, including sizes for babies and children.
- The two-rectangle assembly creates the neckline through folding and an invisible seam.
A knitted poncho is loved for its simplicity and practicality, whether you're looking for a creative project or a functional piece of clothing. Originating from Central and South America, this loose-fitting garment—without sleeves or buttons—is generally knitted as two joined rectangles or as a single piece to avoid seams. For a women's size S, both beginner and experienced knitters typically start with a base of 76 stitches on 6.5 mm needles, reaching a height of 76 cm before binding off the edges.
Essential supplies are minimal: 11 skeins of merino wool (approximately 100g each), circular or straight needles, and a tapestry needle for finishing. Free patterns tailored for beginners are available for all sizes, including baby and child ponchos, where dimensions are scaled down proportionally. The assembly of the two rectangles relies on folding and an invisible seam at the neckline, ensuring a clean, professional look.
This guide covers every step, from the simplest patterns to advanced techniques like cables or jacquard, as well as adaptations for different body types. Whether you want to knit a poncho for yourself, as a gift, or as a personal project, these practical tips and references to free online patterns will help you create a unique, cozy, and timeless piece.
Origin and Principle of the Knitted Poncho
The poncho, an iconic garment of Mesoamerican cultures, originated in the mountainous regions of North and South America, where it was worn for its ability to protect against cold winds and rain.
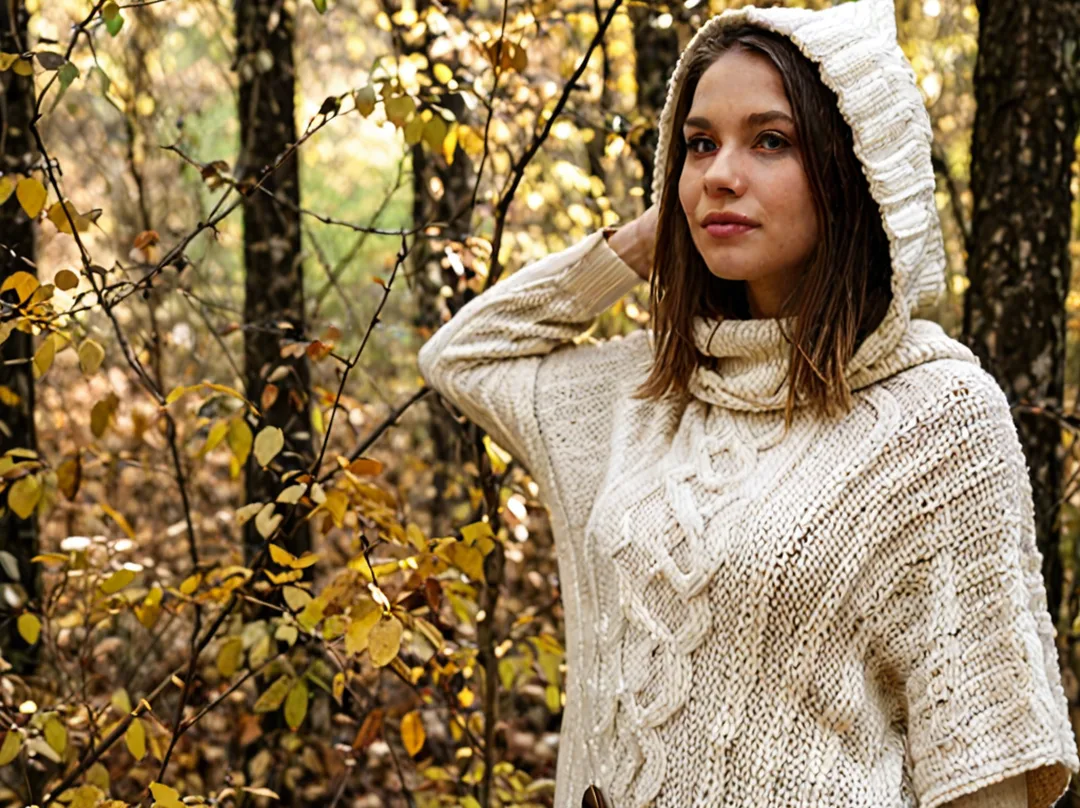
Its adoption by local populations and later by outdoor enthusiasts is due to its simple geometric shape and lack of buttons or zippers, making it both practical and versatile. Today, it embodies a blend of cultural heritage and modernity, remaining a top choice for knitters seeking projects that are accessible yet elegant.
In knitting, the poncho is characterized by its minimalist construction, often reduced to assembled rectangles, squares, or circles. This streamlined approach makes it an ideal project for beginners, as it limits complex techniques and assembly errors.
Unlike other knitted garments, such as sleeved sweaters or cardigans, a poncho does not require progressive decreases or fitted shaping, which speeds up the process without sacrificing style. Its loose design and lack of obvious seams also make it a comfortable garment, suitable for transitional seasons as well as winter.
Choosing Your Pattern: Two Rectangles, One Piece, or Easy Versions
For beginners, there are three main approaches: the two-rectangle poncho, the most common; the one-piece seamless poncho; and simplified patterns designed for novices. Knitting a poncho with two rectangles remains the most classic method, as it allows you to work flat and assemble the pieces afterward.
This technique is particularly suited for beginners because it minimizes errors related to complex increases or decreases. The two rectangles are then sewn or pinned to form the neckline and sides, offering a clean finish that can be adjusted to preference.
The one-piece poncho is attractive due to its speed and lack of final sewing. It is generally knitted flat (back and forth) with progressive increases to widen the piece toward the sides, or in the round starting from the collar, which eliminates straight side edges. This method is ideal for knitters in a hurry or those who wish to skip the assembly stage. However, it requires better control of stitch tension to avoid unevenness, especially across large widths.
Knitting an easy free poncho is possible thanks to patterns shared by yarn brands and online communities. Brands such as Phildar, Plassard, or Cheval Blanc regularly offer free patterns, often accompanied by video tutorials. Specialized blogs, such as Ladylaine, also provide beginner-friendly patterns using simple stitches like stockinette or garter stitch. These resources allow you to test different sizes and styles without an initial investment while learning the basics of knitting.
Knitting a Poncho with 2 Rectangles: The Classic Method
The two-rectangle poncho technique involves creating two identical pieces, knitted separately and then joined. Each rectangle represents half of the poncho: one for the front and one for the back, with enough width to wrap around the shoulders. Assembly is then achieved by folding the side edges and sewing the neckline, allowing the size to be adjusted to the body shape. This method is highly valued for its simplicity and versatility, making it easy to add modifications like a hood or rows of fringe.
Knitting flat on straight needles is the major advantage of this approach, as it reduces the risk of twisting or unevenness in the fabric. Beginners appreciate this technique because it is similar to knitting scarves or squares. To ensure a successful assembly, it is recommended to allow a seam allowance of about 1 to 2 cm on the edges to facilitate joining. Rectangles can be knitted in different yarns for a contrasting visual effect or in the same yarn for a uniform look.
Knitting a One-Piece Poncho: Seamless
A one-piece poncho is generally knitted flat on straight needles, with regular increases to widen the garment toward the sides. This method avoids seams and results in a fluid drape, ideal for oversized models or lightweight yarns.
For knitters comfortable with circular needles, it is also possible to start at the collar and knit downwards, adjusting the number of stitches to reach the desired width. This technique requires particular attention to stitch tension to prevent deformation.
Knitting a poncho with circular needles simplifies the process, especially for wide models or thick yarns. Circular needles allow you to manage a large number of stitches effortlessly while making increases and decreases easier. For one-piece ponchos, this method is often preferred because it reduces the risk of twisting and allows for more consistent knitting. Circular models are particularly suited for fitted ponchos or versions with hoods, where continuity of the knit is essential for a harmonious result.
Supplies and Necessary Materials
To start knitting a poncho, the essential equipment is quite simple and accessible. First, select a yarn suited to the desired style and the season. The choice of needles is equally crucial, as their size must match the thickness of the yarn to obtain a perfectly regular mesh. Finally, a tapestry needle (or darning needle) is necessary for sewing and finishing, allowing the pieces to be assembled neatly.
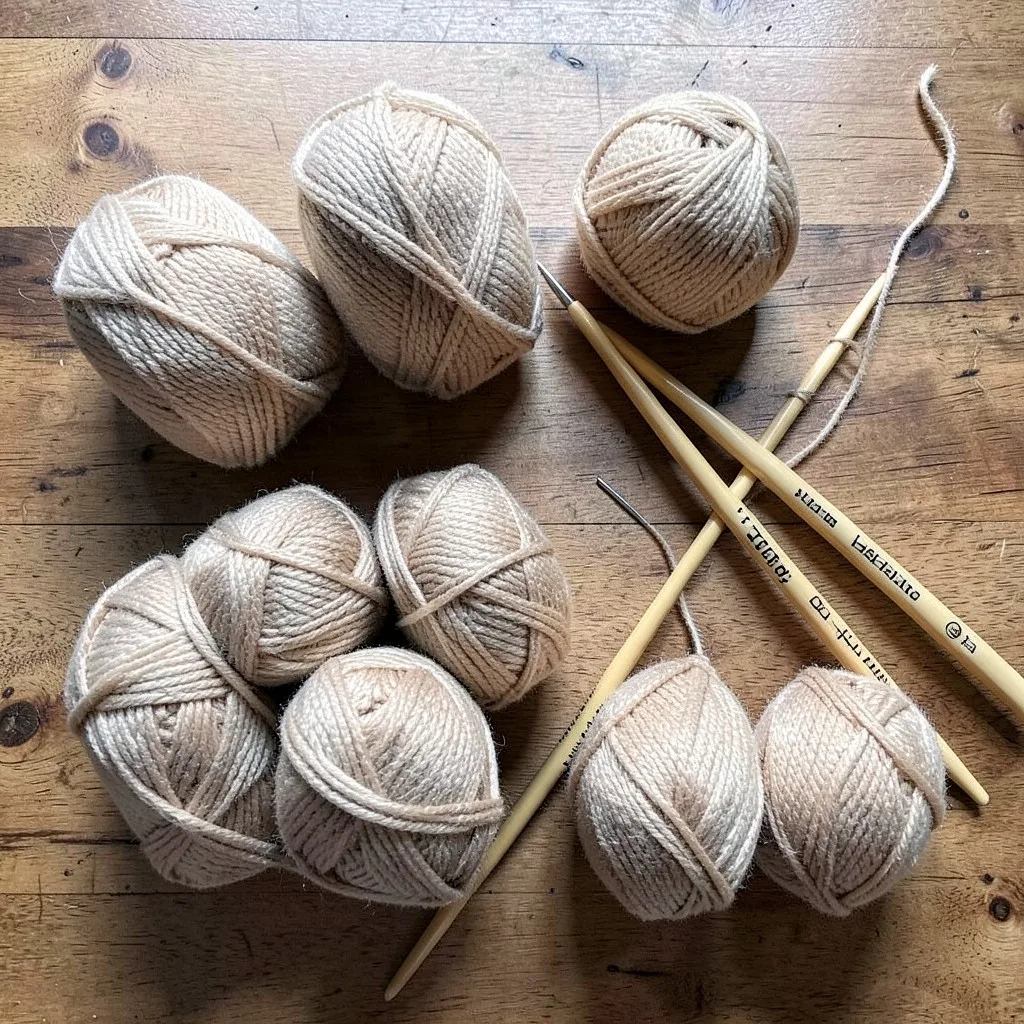
To create the women's size S model proposed by Ladylaine, the required materials are very specific. This project requires 11 skeins of Lang Yarns Merino 70 to cover the entire surface of the garment. The work is done with 6.5 mm knitting needles, a size that ensures a balance between flexibility and fabric structure. As with any assembly, using a tapestry needle is indispensable for finalizing the seams and weaving in the ends.
Depending on the pattern and the desired effect, tools vary. Some patterns recommend 4.5 mm needles, particularly for creating cables, which makes the work relatively quick and easy to memorize. Conversely, for extremely fast assembly, other versions use 10 mm needles. This larger tool choice allows the knitting to grow very quickly, which is ideal for achieving immediate results with chunky yarn.
- Yarn suited to the pattern (merino, alpaca, cotton depending on the season)
- Straight or circular needles depending on the chosen method
- Tapestry needle for seams and weaving in ends
- Measuring tape to check dimensions
- Stitch markers for increases or patterns
Detailed Steps: Knitting a 2-Rectangle Poncho (Women's Size)
How many stitches are needed to knit a poncho? For a size S, cast on 76 stitches on 6.5 mm needles. The very first step of your project is to carefully prepare the bottom edge of the work. To do this, knit 2 rows in garter stitch. This starting phase provides a solid base and ensures a clean finish from the beginning of your knitting project.
Then, continue knitting your piece to a height of 76 cm. The structure of the rectangle relies on a precise arrangement of stitches. You should knit the 68 central stitches using a 1x1 rib stitch. For the two side borders, use 8 stitches on each side in garter stitch. This layout creates a regular and stable pattern throughout the progression.
Once your work measures 76 cm, knit 3 rows in garter stitch, and on the 3rd row, bind off the stitches. It is then essential to repeat these exact steps to create a second identical rectangle. Once these two pieces are finished, you will have everything needed for the final assembly of your garment.
- Cast on 76 stitches on 6.5 mm needles
- 2 rows of garter stitch
- Knit to 76 cm: 68 sts 1x1 rib + 8 sts garter stitch on each side
- 3 rows of garter stitch
- Bind off on the 3rd row
- Repeat for the 2nd rectangle
Knitting an Easy Free Poncho
Creating a knitting project doesn't always require advanced technical expertise. For beginners or those wanting a quick project, knitting an easy free poncho is an ideal option. This type of pattern prioritizes simplicity, often using basic geometric shapes like rectangles. By avoiding overly complex structures, you can focus entirely on the texture of the yarn and the pleasure of the craft.
The simplicity of these patterns allows for an elegant result without spending long hours on complicated stitch calculations. It is an excellent way to use up your leftover yarn or test a new fiber softness. This kind of rewarding project offers immediate satisfaction once assembly is complete, making the poncho an essential and accessible fashion accessory for all.
Assembly and Finishing of the Two Rectangles
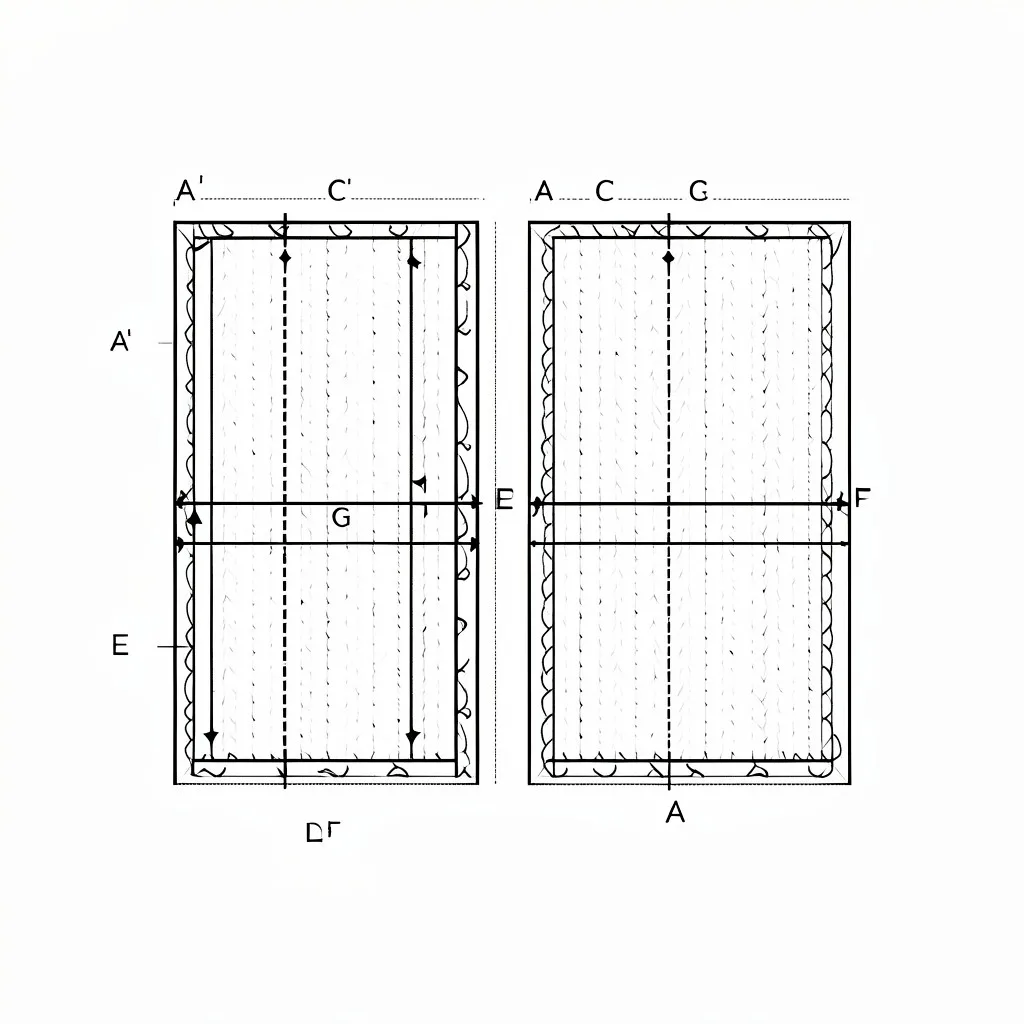
To assemble the two identical rectangles, start by folding them, overlapping the stitch markers noted during knitting. Align point C to E, then D to A/A’ on one side, while points F and G should face each other on the other side. This arrangement creates a natural symmetry for the neckline, avoiding any visual imbalance. Ensure the side edges match perfectly before proceeding to sew.
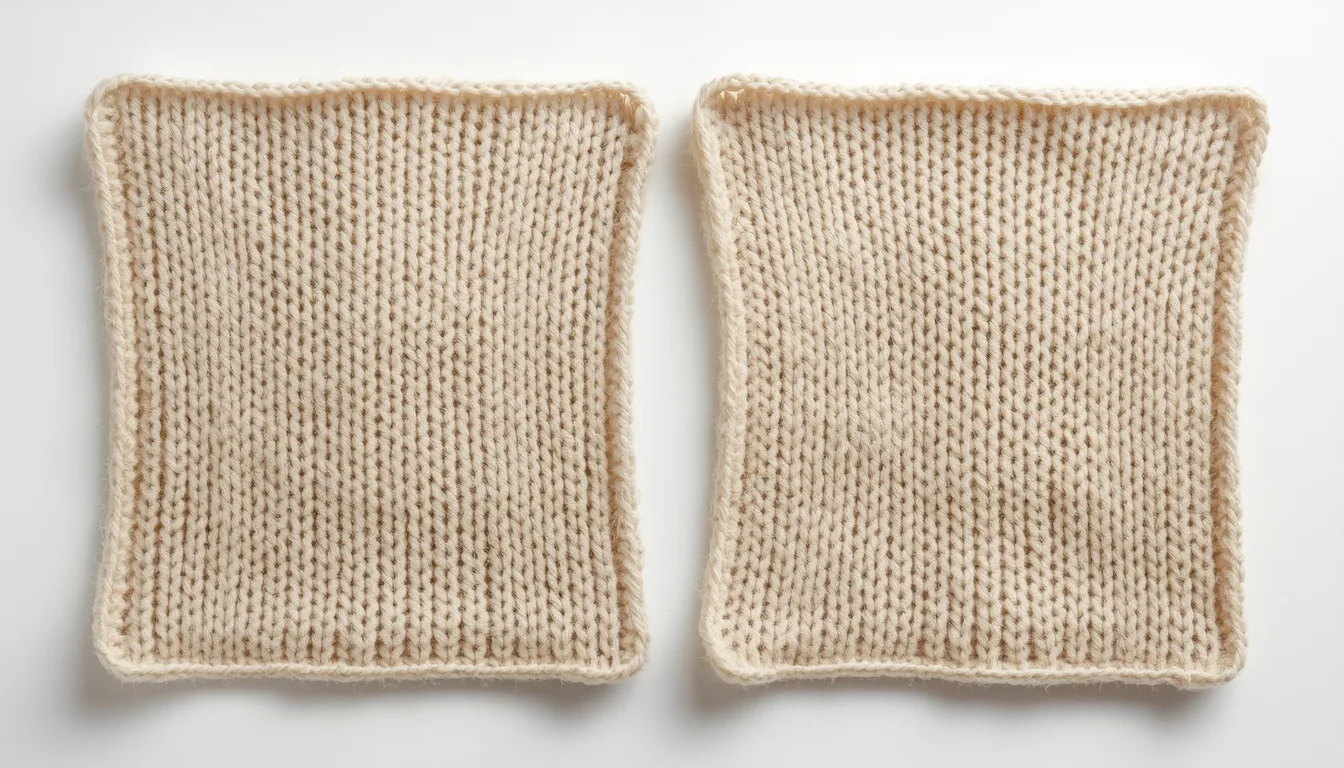
The junction between the two pieces is joined using invisible stitches (such as the mattress stitch) for a clean and discreet finish. First, sew the CEG-DAF line starting from the right side of the fabric, ensuring the stitches do not distort under the needle. Once this seam is complete, turn the poncho over to finalize the side seams using the same thread and technique, emphasizing regular stitches for a professional result.
The fold formed by the DAF junction automatically becomes the neckline once the rectangles are assembled. To adjust it, gently pull on the neckline stitches if necessary, but not excessively so as not to alter the shape of the poncho. A small hand-hem can be added to the bottom of the sides if the edges are irregular, while maintaining the characteristic flexibility of this model.
Adapting Dimensions: Women's, Child, and Baby Sizes
Knitting a women's poncho requires adjusting the width to the shoulder circumference, generally between 60 and 70 cm for a fitted model. The length, often 60 to 80 cm depending on the style (short or long), also influences the number of rows required.
A straight poncho, for example, may require 120 to 150 stitches in width for an adult size, while a slightly flared model may reach 160 stitches for a looser effect. These adjustments also depend on the yarn thickness: a fine yarn (such as merino 4-ply) will require more stitches than a thick yarn (such as chunky yarn).
Knitting a child's poncho follows the same principles in reduced dimensions, with a width adapted to the age: 40 to 50 stitches for a 3-6 year old model (approx. 40 cm shoulders) and 30 to 40 stitches for a baby (shoulder circumference 30-35 cm).
The height varies from 35 to 50 cm depending on whether the poncho is designed to cover down to the knees or just the shoulders. Children's models often prioritize elastic edges (such as 2x2 rib) for a comfortable fit while limiting the weight of the garment.
| Size | Cast-on Stitches | Rectangle Height | Indicative Age |
|---|---|---|---|
| Baby 6-12 months | 40-48 | 30-35 cm | 6-12 months |
| Child 2-4 years | 50-56 | 35-40 cm | 2-4 years |
| Child 6-8 years | 58-64 | 45-50 cm | 6-8 years |
| Women S | 76 | 76 cm | Adult S |
| Women M | 84-88 | 80-84 cm | Adult M |
| Women L | 92-96 | 84-88 cm | Adult L |
The basic measurements for a women's, child's, and baby's poncho are based on a 10x10 cm gauge swatch knitted in the chosen stitch (e.g., stockinette, 1x1 rib). For example, if your swatch has 22 stitches over 10 cm, a shoulder width of 65 cm will require 143 stitches (65 x 2.2).
To check the height, count the number of rows in 10 cm of your swatch, then multiply by the desired length. A margin of 2 to 3 cm should be added for finishing (hems, seams). Free patterns online often provide integrated conversion charts, but manual calculation remains essential for personalizing sizes.
Knitting a Baby Poncho: Adapted Model
When knitting a poncho for a baby, the dimensions and choice of materials differ significantly from an adult model. How do you knit a baby poncho? First, reduce the width by limiting the number of stitches to 40-48, which corresponds to a shoulder span of about 30-35 cm. The height is adjusted between 30 and 35 cm to cover the torso without restricting movement.
The neckline must be generous, with an opening of at least 15 cm to make it easy to put over the head, while maintaining a shape fitted to the shoulders. The selected yarn must be soft, hypoallergenic, and machine washable at 30°C to ensure the infant's comfort and safety, while withstanding frequent washing.
The knitting is generally done in garter stitch or 1x1 rib for a soft and warm result, ideal for babies. After casting on the stitches on 5 to 6 mm needles (depending on yarn thickness), knit every row, checking the gauge regularly to adjust the number of rows if necessary.
Once the two rectangles are finished (or a single piece if the pattern specifies), they are assembled along their long edges using an invisible sewing thread or a hand-overcast stitch, leaving a margin of 2-3 cm for finishing. The bottom edges can be hemmed or fringed for a decorative effect while reinforcing the structure.
Baby ponchos benefit from practical closures to avoid complex handling. Snap fasteners (or Velcro®) are an ideal solution, as they allow for quick dressing and undressing, even for busy parents. An alternative is to add a shoulder slit on one side, held by a button or clasp, which simplifies putting it on without needing traditional buttons.
For models without closures, an elastic hem on the edges may suffice, provided it is made with an extensible thread so as not to tighten around the shoulders. Finishes must be meticulous, with invisible seams and strong threads to avoid any risk of snagging or irritation.
Stitch Variants and Styles: Cables, Lace, Jacquard
To add texture to your creation, it is entirely possible to go beyond simple garter stitch or 1x1 ribbing. You can integrate simple cables, openwork lace, or even jacquard to vary the textures of your work. These different techniques allow you to fully personalize the style of your poncho and create a unique, professional visual result, adding an extra dimension to your knitting.
If you prefer a more structured and detailed look, cable patterns are an excellent decorative option. To achieve a sharp and precise result, these pieces often use finer needles, specifically 4.5 mm needles, to better define the relief of the pattern. This technique highlights the complexity of the intertwining stitches and adds a particular elegance to the texture of the piece.
For a lighter feel, perfectly suited for warmer days, a summer poncho made of cotton or linen is an ideal choice. This type of model is generally knitted in eyelet stitch using 3.5 to 4 mm needles. This combination of natural materials and smaller needles ensures great lightness and perfect fluidity, making it easy to wear your creation during the summer season.
Inspiration and Free Patterns to Download
Phildar, Plassard, Cheval Blanc, and blogs like Ladylaine offer free downloadable patterns for women, children, and babies. It is possible to find a free knitted poncho pattern from major yarn brands to start a project. These resources provide access to a variety of creations without an initial investment.
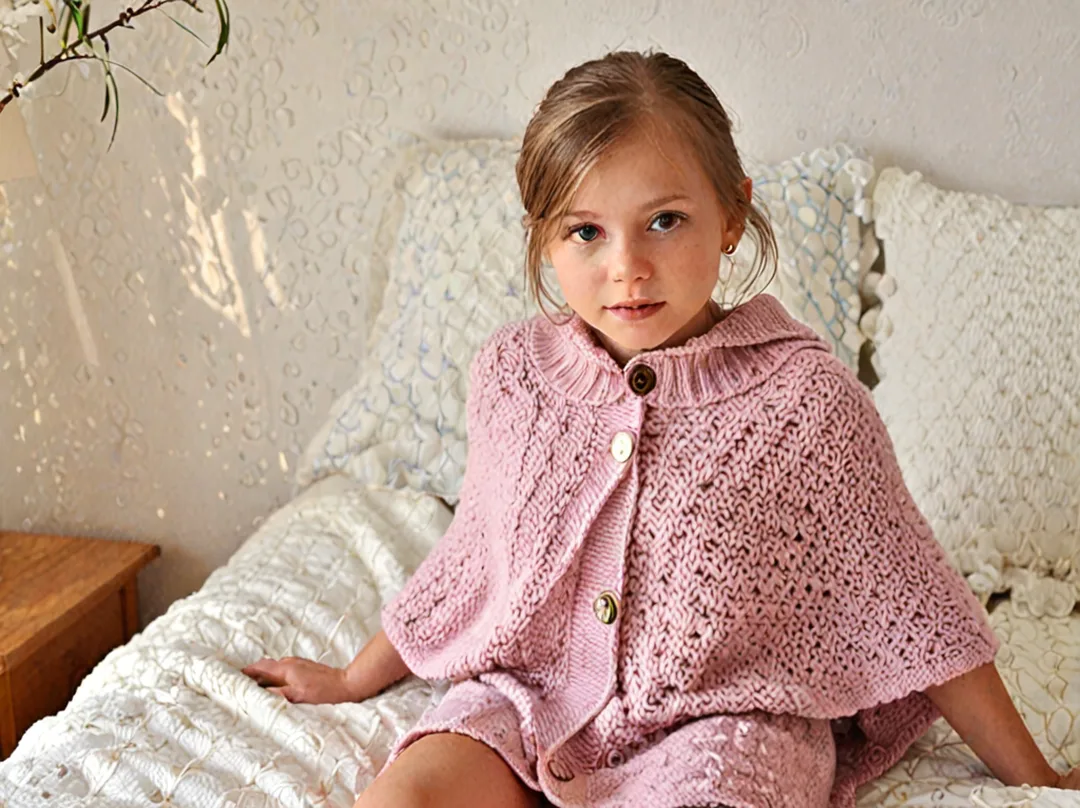
Two-rectangle models are the most common among free patterns, followed by one-piece circular versions. The majority of shared patterns use the simple two-rectangle construction. This approach facilitates learning because it relies on basic geometric shapes before assembly.
Each pattern indicates the yarn yardage, gauge, available sizes, and assembly diagrams. For any poncho knitting model, the explanations always include the gauge and yardage to ensure the final garment matches the desired dimensions.
- Phildar: free poncho knitting patterns on their website
- Plassard: paid and free patterns for women/children
- Cheval Blanc: selection of knitted ponchos
- Ladylaine: detailed tutorial for 2 rectangles (size S)
- Knitting blogs: original patterns shared by enthusiasts
Tips for a Successful First Poncho
Knitting a gauge swatch and then blocking it before starting your project ensures the correct final dimensions. This preparation step is essential to anticipate how your fabric will behave. By taking the time to test your work, you ensure the size of your creation will be correct once the project is finished.
Using stitch markers is an effective method to help count over long rows. By placing a marker every 20 stitches, you make it easier to track your progress. This simple technique helps manage large volumes of knitting while limiting the risk of counting errors during production.
It is recommended to block the two rectangles before proceeding to assembly. This action allows you to align the edges of the pieces and facilitate an invisible seam. Pre-blocking ensures the elements fit together perfectly, resulting in a neat finish and a clean junction between the two parts.
The choice of material plays an important role. Starting an easy poncho begins with choosing a forgiving yarn, such as a wool-nylon blend that offers some elasticity. This characteristic allows the yarn to better forgive occasional tension irregularities and contributes to a more regular final result.
FAQ
How many stitches are needed to knit a poncho? For a women's size S: 76 stitches on 6.5 mm needles. For a baby 6-12 months: 40-48 stitches. For a child 2-4 years: 50-56 stitches. Adjust based on your gauge swatch.
How do you knit a poncho for a baby? Cast on 40-48 stitches on 5-6 mm needles, knit 30-35 cm in garter stitch or 1x1 rib, make two identical rectangles, and assemble as the adult model, providing a wider neckline or a shoulder slit.
What yarn should I choose for knitting a poncho? Merino for softness, alpaca for warmth, cotton/linen for summer. The Ladylaine model uses 11 skeins of Lang Yarns Merino 70. Beginners should prioritize a yarn with some elasticity.
Can you knit a poncho in one piece without seams? Yes, by knitting in the round from the collar down with raglan increases, or flat with increases to form the neckline. Circular needles are recommended for the large number of stitches.
Where can I find a free knitted poncho pattern? On the websites of Phildar, Plassard, Cheval Blanc, Laines du Nord, and blogs like Ladylaine. Most offer free downloadable PDFs for women, children, and babies.
What needles should I use to knit a poncho? Straight 6.5 mm needles for the classic 2-rectangle model. Circular 4.5-10 mm needles depending on the yarn thickness for the one-piece version. The size depends on your gauge swatch.
How do you assemble the two rectangles of a poncho? Fold each rectangle to overlap the markers (C on E, D on A/A'), sew the central junction that forms the neckline using invisible stitches, then sew the sides. Turn it right side out to finish.
How many skeins for a women's poncho? The size S model from Ladylaine requires 11 skeins of Lang Yarns Merino 70 (50 g / 110 m). Expect 10-14 skeins depending on size, yarn, and desired length.
Sources
See Also
- knitting gauge
- First knitted sock!
- knitting a flared dress
- hand-knitted gift ideas