In short
- Start with the basics: casting on stitches and choosing the right materials.
- Complete your first projects like a headband or a beanie.
- Learn texture techniques such as cables.
- Choose the ideal yarn based on fiber and desired weight.
Learning to knit can seem intimidating, but with the right knitting tutorials, any beginner can master basic stitches and complete their first pieces with confidence. Whether it's casting on your first stitches on a needle, choosing the ideal yarn, or understanding the different available fiber types, a progressive approach is essential.
Simple projects like a headband or a beanie allow you to practice without pressure, while techniques like cables or the stockinette stitch pave the way for more complex creations. The goal? Finding the right balance between the length and width of your rows, while adapting your pace to your needs, whether using fine or bulky yarns.
To succeed in your first steps, nothing beats visual and detailed articles that break down every movement, from knit stitches to purl stitches, including managing your skeins. Modern knitting tutorials often feature videos or interactive diagrams, making learning more accessible.
Once the basics are acquired, it becomes possible to tackle more ambitious projects, such as a scarf or a sweater, by exploring various patterns. The trick? Start with simple stitches before moving on to advanced techniques like seed stitch or moss stitch, while ensuring the direction of the rows remains consistent.
Getting Started with Knitting Tutorials
Knitting tutorials are much more than just a simple resource: they are the foundation upon which beginner success is built. A poorly held needle, overly slippery yarn, or miscounted stitches can quickly become discouraging, which is why relying on clear visual aids is so important.
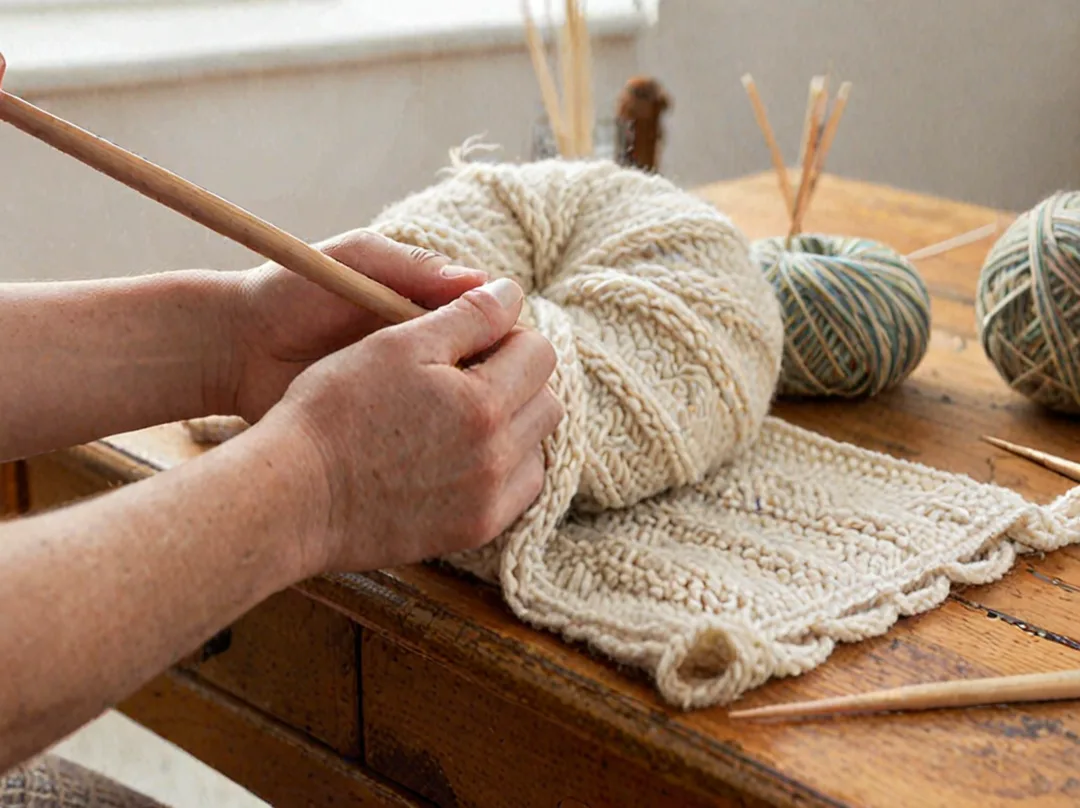
These articles guide you step-by-step, from the very first stitches to the final assembly, emphasizing precision in every movement. For example, knowing how to distinguish garter stitch from stockinette or understanding the use of a cable needle for cables makes all the difference. The key lies in repetition: every row you knit reinforces muscle memory, gradually transforming apprehension into ease.
Taking advantage of a free knitting tutorial offers unparalleled flexibility to progress at your own pace, without time or space constraints. Online platforms today offer courses available 24/7, allowing you to pick up right where you left off, whether it's in the evening after work or during a lunch break.
This freedom is particularly precious for beginners, as it eliminates the pressure of following a set schedule. Interactive videos, often accompanied by technical sheets, detail every step, from the stitches to adjusting the width of a piece. Thus, even the most delicate fibers, such as fine wool, become accessible with the right advice.
Mastering knitting first requires rigorous preparation of your materials, a detail that is often underestimated. Even before casting on your first stitches, you must check the compatibility between your yarns and needles, as well as the amount of yarn required for a given project. A common mistake is underestimating the number of skeins needed, especially for projects like a beanie or a medium-length scarf.
Knitting tutorials systematically recommend planning for an extra 10 to 15% margin to avoid running out of yarn mid-project. Furthermore, knowing how to manage multiple skeins simultaneously—a useful technique for cables or color gradients—is an asset for more ambitious projects.
Making Your First Projects: Headbands and Beanies
To put your first lessons into practice, nothing beats a knitting tutorial guided by simple yet visually satisfying projects. The headband and the beanie represent the ideal transition between theory and practice: they require few stitches and rows while offering immediate results.
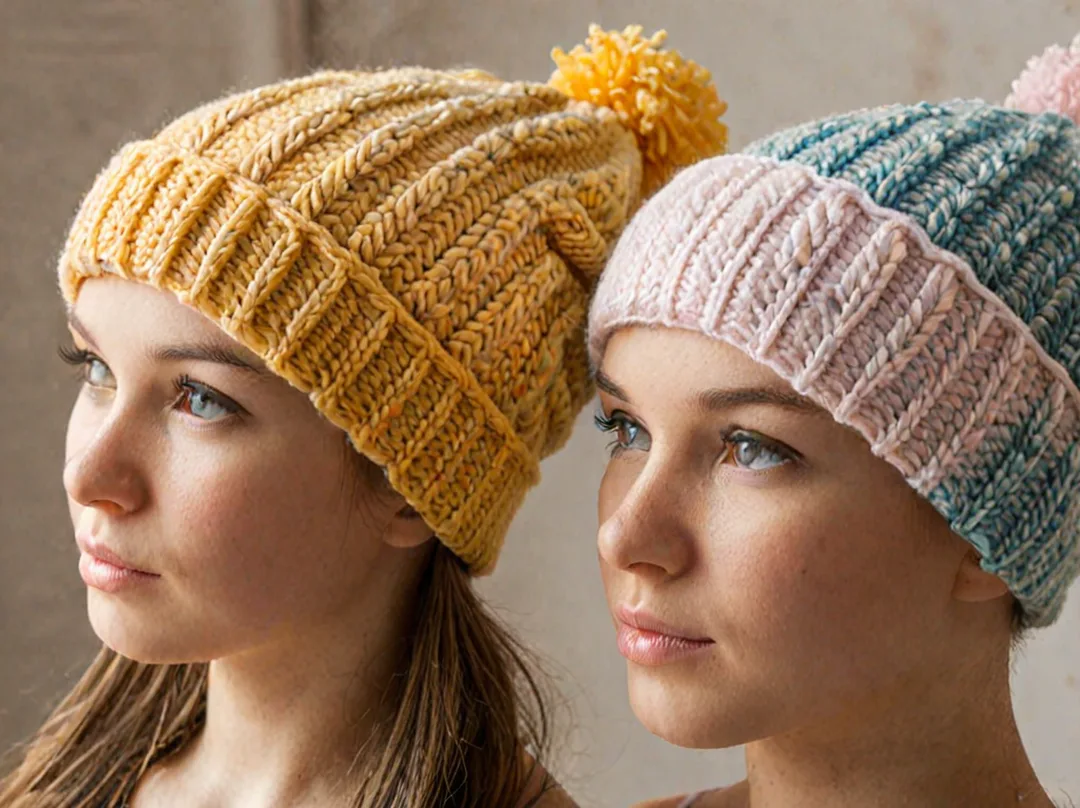
Their repetitive structure allows you to master the basics—such as stockinette or fundamental stitches—before tackling more elaborate patterns. These projects are also an opportunity to test different yarns and needles, which is essential for adjusting the final look. Their success relies on accessible logic: a headband is knitted in a straight line, while a beanie introduces circular knitting, which is often more intuitive for beginners.
Knitting a Stylish Headband
What is a headband? It is a straight band of knitting designed to wrap around the head without forming a crown like a beanie. Unlike the latter, it requires neither circular needles nor spiral mounting, making it an ideal project for mastering stitches in straight rows.
Its principle relies on a number of stitches determined by the desired width, knitted back and forth until reaching the necessary length for a perfect fit. Once the stitches are bound off, the ends are sewn together to form an adjustable loop.
| Category | Yarn Weight | Needles (mm) | Stitches / 10cm |
|---|---|---|---|
| Medium (DK) | DK, light worsted | 3.75 to 4.5 | 21 to 24 |
| Medium (Worsted) | Worsted, aran | 4.5 to 5.5 | 16 to 20 |
| Bulky (Chunky) | Chunky | 5.5 to 8 | 12 to 15 |
The choice of fibers directly influences the comfort and aesthetics of the headband. Merino wool, renowned for its softness and warmth, is a timeless classic, while alpaca adds a touch of lightness and luxury. Acrylic yarns or wool/acrylic blends are attractive due to their affordable price and wash resistance, without sacrificing style. Each type of yarn offers distinct properties: merino excels for everyday projects, alpaca for more elaborate creations, and acrylics for budget-friendly or colorful projects.
Preparing your needles and yarn is a key step for a successful headband. DK or Worsted knitting needles (between 3.5 mm and 5 mm) provide a perfect balance for a result that is neither too thin nor too thick, ideal for a versatile headband. Medium yarns (Worsted category) adapt to most wearing styles, while circular needles allow you to knit flat or in the round, depending on the technique chosen.
For textured patterns like seed stitch or moss stitch, a slightly thicker yarn (Chunky) can accentuate the visual effect, though it slows down the knitting. A gauge swatch—a 10x10 cm square—is indispensable to check your gauge (number of stitches and rows per cm) and adjust your needles if necessary.
The Beanie: Your Perfect Second Project
The beanie is an excellent choice to progress after the headband, as it introduces circular knitting while remaining accessible. Unlike a scarf or a sweater, it is worked in a spiral on circular needles, which avoids seams and results in a more professional look.
Learning it allows you to get used to managing a variable number of stitches (by increasing or decreasing) and mastering basic stitches like stockinette or purl stitches, which are essential for structuring the shape. Additionally, a beanie knits up quickly, offering immediate satisfaction that motivates you to explore more complex patterns later.
- Cast on the required number of stitches
- Knit the body in ribbing or stockinette
- Perform the decreases at the top
- Carefully bind off the stitches
- Block the piece and add a pompom
Knitting a beginner beanie relies on three key steps: casting on the stitches in the round, working regular stockinette for several rows, and finishing with decreases to form the crown. The setup is generally done using an auxiliary needle to close the circle without a hole, and then the stitches are distributed onto the circular needles.
Stockinette rows (all knit stitches) form the base of the beanie, while the decreases (gradually reducing the number of stitches every row) give it its conical shape. A preliminary gauge swatch allows you to verify that the gauge matches the desired size, adjusting the initial number of stitches if needed.
Counting stitches accurately is crucial to avoid a beanie that is too tight or too wide. Before starting, knit a small stockinette square with your chosen yarn and needles, then measure the gauge (for example, 20 stitches per 10 cm). Then, divide the circumference of your head by this gauge to obtain the starting number of stitches.
For example, for a 56 cm head and a gauge of 22 stitches/10 cm, cast on 62 stitches. During knitting, regularly check the width with a measuring tape to correct any discrepancies. Cables or lace patterns can change the gauge, hence the importance of testing on a swatch before launching the project.
Mastering Cables and Complex Patterns
Cables bring a unique visual and tactile dimension to pieces, creating dynamic reliefs that transform a simple scarf or beanie into a standout item. Whether you want to add movement to a classic stockinette or structure a more complex pattern, these stitches allow you to play with the width and length of the stitches to achieve various effects.
For those who wish to explore this technique, looking for knitting ideas for cables reveals a multitude of projects suitable for all levels, from simple models to more elaborate compositions. Their versatility makes them an asset for enhancing fine yarns or thicker wools, while remaining accessible with standard needles.
To master cables, using a cable needle is indispensable. How to knit cables? The key lies in the position of this needle: for a left-leaning cable, it must be placed in front of the work, while for a right-leaning cable, it is positioned behind.
This technique, although simple in appearance, requires precision in the direction of the stitches and rows to avoid tension errors. Beginners can start with repetitive patterns, such as cables alternated with purl stitches or garter stitch, to get used to the regularity of the movement before moving on to more ambitious compositions.
Discovering Norwegian Knitting and Its Traditions
Norwegian knitting draws its roots from the artisanal traditions of the Scandinavian mountains, where women have passed down knowledge related to wool and geometric patterns for centuries. Emerging in the 19th century, it established itself as a symbol of cultural resilience, particularly in isolated regions like the fjords or the Lofoten Islands, where garments served as both ornament and survival tools.
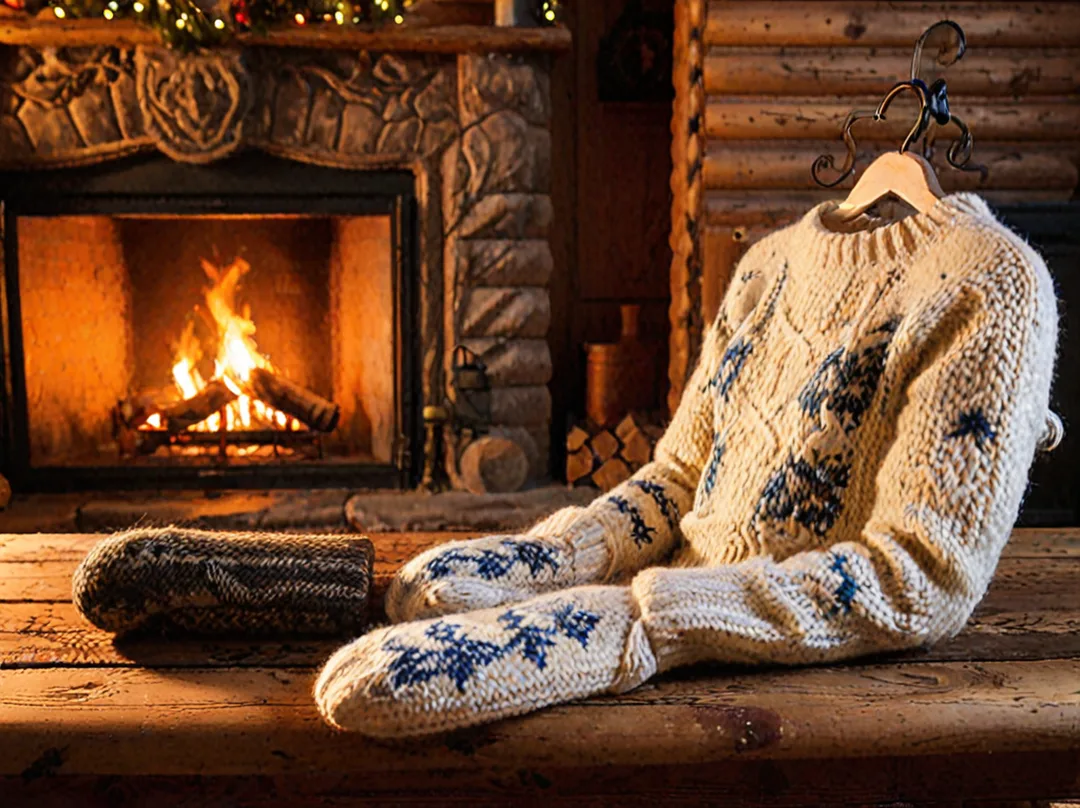
The techniques, often passed down orally, highlighted local yarns like mountain sheep wool, renowned for its softness and weather resistance. This practice, celebrated today as intangible heritage, remains a pillar of Norwegian identity, blending aesthetics and functionality in timeless creations.
Traditional Scandinavian patterns are distinguished by their generous width and perfect symmetry, often organized in repetitive rows that create a hypnotic visual effect. Among the most iconic are interlaced stitches, braided cables, or checkerboard patterns, where knit and purl stitches alternate to form motifs reminiscent of nature—mountains, waves, or stylized floral patterns.
Tight ribbing, characteristic of scarves or beanies, is frequently associated with scalloped edges or fringes, while more ambitious projects, like sweaters, incorporate relief patterns like moss stitch or garter stitch. These techniques, though complex, rely on accessible principles once the basics of needles and stitches are mastered.
Tips and Finishing Touches to Improve
Following a knitting tutorial allows you to progress by quickly identifying common errors, such as stitches that are too tight or misaligned rows. An effective method is to systematically check the width of the piece in progress by comparing it with the pattern instructions. For beginners, it is helpful to knit a beanie or a scarf in simple stockinette before moving on to more complex patterns, as these projects offer a solid foundation for spotting inconsistencies.
In case of an error, it is often enough to unravel a few stitches and restart the concerned row, taking care to maintain proper tension in the yarn to avoid holes or uneven tightness. Patience is key: every corrected piece reinforces the precision of your movements and your confidence in your abilities.
FAQ
What is the best knitting tutorial for beginners? A good beginner tutorial starts with learning how to cast on stitches, the stockinette stitch, and purl stitches.
What is a cable needle? It is an auxiliary needle used to temporarily hold certain stitches in order to create the pattern crossing.
How to knit a headband? You need to cast on the stitches, knit back and forth until you reach the desired length, then bind off and sew the ends together.
How to measure your head to knit a headband? Use a measuring tape to measure the circumference of your forehead to define the initial number of stitches.
What are the easiest knitting patterns? Scarves, headbands, and slippers are the most accessible projects for novices.
Sources
See Also