In short
- Choosing a project suited to your level (scarf, hat, simple sweater) is the key to successfully completing your first knitted garment.
- Basic supplies are minimal: you only need needles, yarn, a measuring tape, and a yarn needle—no need for a massive investment at the start.
- Mastering casting on, the knit stitch, the purl stitch, and binding off is enough to create most beginner-friendly garments.
- The gauge swatch is the critical step for achieving the correct fit: it determines how many stitches to cast on and how much yarn is required.
- Finishing touches (blocking, seaming, weaving in ends) transform a "homemade" project into a polished, professional, and durable garment.
Choosing a project suited to your skill level—such as a scarf, a beanie, or a simple sweater—is the best way to ensure the success of your first knitted garment.
Jenna Phipps demonstrates a step-by-step guide for beginners on how to actually start knitting your own clothes.

The basic toolkit is minimal: a set of needles, yarn, a measuring tape, and a yarn needle are all you need to get started without overspending.
Once you master casting on, the knit stitch, the purl stitch, and binding off, you will have the skills necessary to knit the majority of beginner patterns.
The gauge swatch is the most important step for ensuring the correct dimensions, as it determines the number of stitches to cast on and the total amount of yarn needed.
Finally, finishing techniques such as blocking, seaming, and weaving in the ends are what turn a simple piece of knitting into a finished, long-lasting piece of clothing.
Choosing Your First Knitting Project
A scarf is the most accessible project for beginners because it requires no complex shaping or assembly. If you're wondering how to knit a scarf, start with a simple rectangular project that doesn't require any decreases or increases. You can use almost any basic stitch, such as garter stitch, seed stitch, or moss stitch.
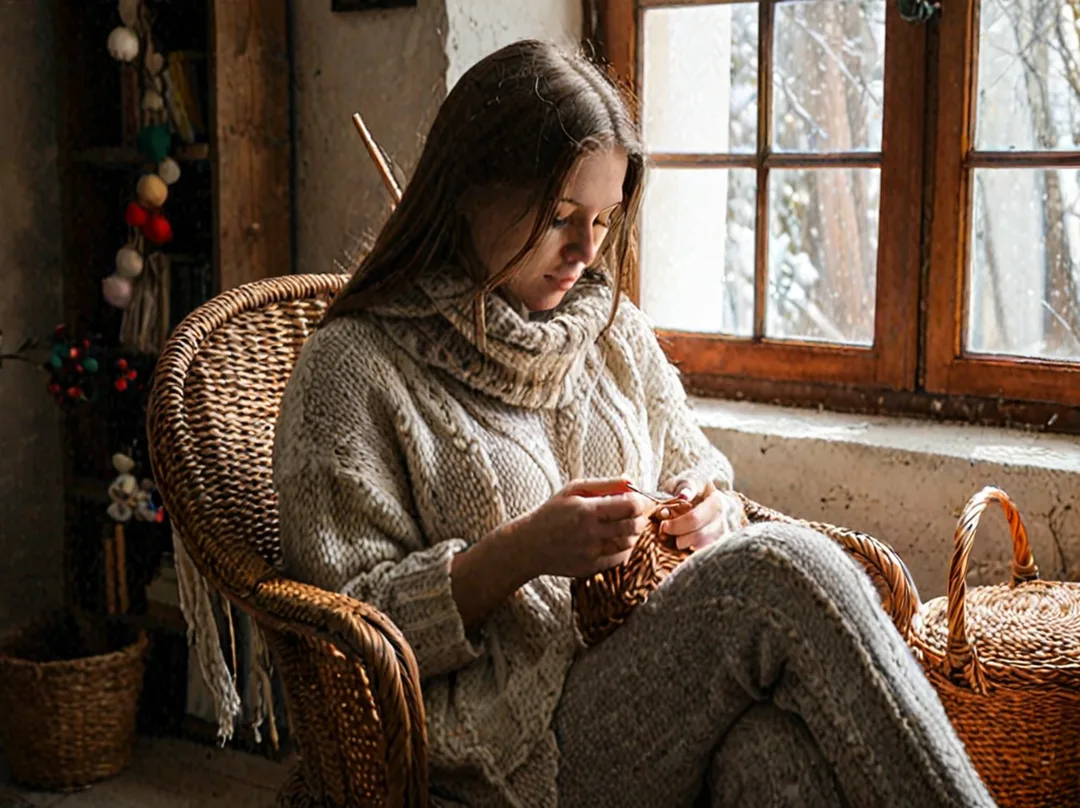
Avoid knitting a scarf entirely in stockinette stitch, as it will likely curl at the edges. Generally, you'll need about 600 meters (approx. 650 yards) of fingering weight yarn or 460 meters (approx. 500 yards) of medium weight yarn for a standard scarf.
A beanie is the next logical step. Its small size makes it a quick win, and it introduces you to the concept of decreases for the crown. Knitting an adult beanie typically requires only 100 to 150g of yarn and a few evenings of work.
Which style should you choose? A classic beanie can be worn with or without a pom-pom; an oversized "slouchy" beanie hangs at the back; a rounded cap covers the whole head; and a beret offers a more structured, artistic look. A rounded beanie, often called a bob hat, fits snugly and often requires only one skein of yarn. The beret features a ribbed edge but doesn't compress the top of the head.
A simple sweater with straight sleeves (drop shoulder style) is the first truly structured garment you can tackle after mastering hats and scarves. If you want to try a baby beanie, the same principles apply but on a smaller scale, making it a great way to practice your decreases.
To ensure success with your first full garment, avoid patterns with raglan armholes, complex necklines, or Fair Isle/Jacquard motifs. These technical elements require a level of precision that can be frustrating for a first-timer.
How long does it take? A scarf typically takes 4 to 6 hours, a beanie 3 to 5 hours, and a simple sweater 20 to 40 hours. This varies based on your experience and the complexity of the pattern.
Which Yarn Should You Choose for Your First Garment?
Opting for a medium (worsted/aran) or bulky weight yarn makes the process much easier; progress is more visible, and there are fewer stitches to manage. For a beanie, which yarn is best? A medium weight yarn (gauge of 16-20 stitches per 10 cm/4") requires 345-460 meters, while a bulky yarn requires 230-345 meters.
Avoid yarns that are too thin, too slippery (like pure silk), or too "fancy" (like bouclé or chenille), as these can hide the stitches and make counting difficult. Can you use a fine yarn? Superfine (27-32 stitches per 10 cm) requires 480-755 meters; it's possible, but it takes longer and is less forgiving of mistakes.
Essential Tools for Knitting a Garment
To get started, two types of needles are usually enough: straight needles for flat knitting and circular needles for knitting in the round or for managing a large number of stitches. For a basic scarf, you only need a pair of size 4-5mm (US 6-8) straight needles, a measuring tape, and a yarn needle. This simple setup allows you to create your first pieces without a huge investment.
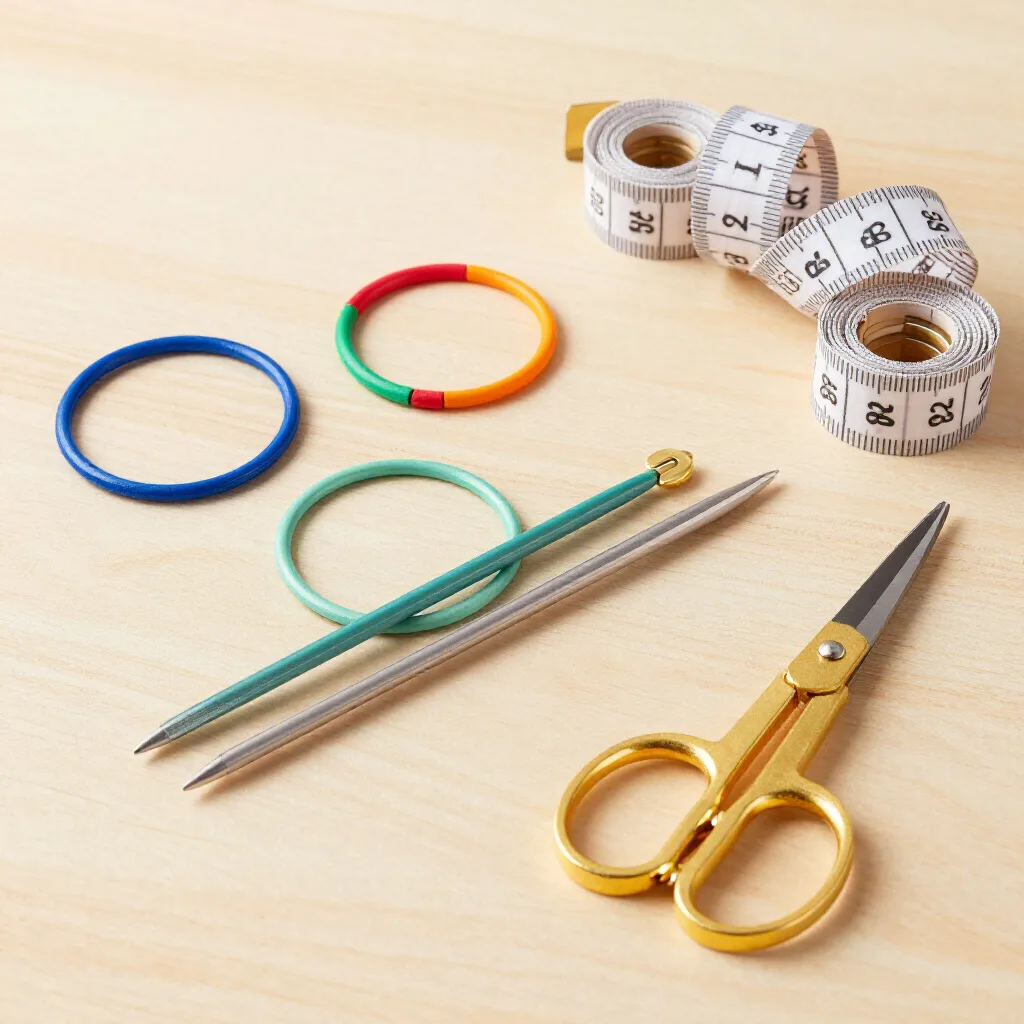
Interchangeable circular needles offer the best versatility for enthusiasts. With cable lengths of 40, 60, or 80 cm, they cover everything from small beanies to voluminous sweaters. Should I knit a hat flat or in the round? Circular needles allow for both: using the "Magic Loop" method for small diameters or a short cable for the full circumference.
Various accessories help organize your work, such as stitch markers for marking the beginning of a round or decrease points, a row counter, scissors, and a large-eye yarn needle for seaming. Your basic kit should include: needles, measuring tape, scissors, yarn needle, stitch markers, and a row counter. These small tools ensure a precise final result.
It is essential to choose your needles based on the pattern's gauge to ensure your garment fits correctly. The needle size suggested in the pattern is a starting point, but your personal gauge swatch is the only way to validate the fit. By testing your tension with your chosen yarn, you'll avoid size errors.
A starting budget for basic interchangeable needles and accessories is roughly $30 to $50. Yarn is extra, depending on the project—for example, $15 to $40 for a beanie. Planning these costs helps you start your creative journey without financial surprises.
Understanding Yarn Weights and Their Uses
The standard yarn system, ranging from lace to jumbo, classifies yarns by their gauge. Each category corresponds to specific needle sizes and project types. This classification helps you choose the ideal yarn to achieve the desired drape and structure for your garment.
The weight correspondences are generally as follows: Superfine 27-32 sts/10cm (2-3mm needles), Fine 23-26 (3-3.5mm), Light 21-24 (3.5-4mm), Medium 16-20 (4-5mm), Bulky 12-15 (5.5-8mm), Super Bulky 7-11 (8-12mm), and Jumbo 1-6 (12mm+).
| Category | Gauge (sts/10cm) | Needles (mm) | Meters per 100g | Typical Projects |
|---|---|---|---|---|
| Superfine (fingering) | 27-32 | 2-3 | 480-755 | Socks, shawls |
| Fine (sport) | 23-26 | 3-3.5 | 410-575 | Light sweaters, baby clothes |
| Light (DK) | 21-24 | 3.5-4 | 345-460 | Cardigans, beanies |
| Medium (worsted/aran) | 16-20 | 4-5 | 345-460 | Sweaters, scarves, blankets |
| Bulky | 12-15 | 5.5-8 | 230-345 | Quick beanies, cowls |
| Super bulky | 7-11 | 8-12 | 230-345 | Very fast accessories |
| Jumbo | 1-6 | 12+ | 115-185 | Pillows, rugs |
Basic Techniques to Master Before Starting
The core techniques you need are casting on, the knit stitch, the purl stitch, and binding off. Among these, the long-tail cast-on is the most versatile: it creates a flexible selvedge edge, is easy to undo if you make a mistake, and works for almost any project, from scarves to sweaters.
For beginners, this method prevents the uneven tension often found with other cast-ons and allows for easy modifications later. Once mastered, it becomes second nature for starting any new project stress-free.
Basic knit stitches include garter stitch (all knit), stockinette (alternating knit/purl), and seed stitch (alternating 1 knit/1 purl offset). Garter stitch, consisting only of knit stitches, creates a flat, reversible fabric—ideal for beginners as there is only one stitch and one row to remember.
Stockinette, while slightly more technical due to the alternating rows, provides a supple and stretchy fabric, perfect for garments that need to hug the body. Finally, seed stitch adds a pebbled texture while remaining accessible thanks to its simple repetition.
Which stitch is best for a scarf? Garter stitch is the easiest because there is only one stitch and one row to remember. Unlike stockinette or more complex patterns, it requires no row switching or purling, which reduces the risk of errors for beginners.
Additionally, its smooth, uniform look highlights the color or texture of the yarn. For a baby yarn or a chunky wool scarf, this stitch guarantees a fast, cozy result with no visible seams.
To create a nice edge in stockinette, knit 3-4 stitches in garter or seed stitch on each side: this prevents the edges from curling, a common issue with stockinette. Stockinette tends to roll because of the alternating knit/purl rows, which can distort the garment.
Adding a garter or seed stitch border stabilizes the fabric and adds a decorative touch. This technique is especially useful for adult beanies or scarves, where the edges need to stay neat and straight.
Binding off (or casting off) means permanently closing the stitches of a project so they don't unravel. To do this, leave a tail of yarn about 4 times the width of the stitches you are binding off, then pass the stitches over one another, keeping them slightly taut but not excessively tight.
Too much tension can create holes or irregularities, while a tail that is too short may not hold. This step is crucial for the durability of the knit, especially for garments where seams must be invisible and strong.
Fancy stitches like seed stitch, moss stitch, or ribbing (1x1 or 2x2) tighten the fabric and add texture without excessive complexity. These patterns rely on the same foundations—alternating knit and purl stitches—but with specific repetitions.
For example, 2x2 ribbing (two knit, two purl) creates a stretchy, durable fabric perfect for berets or garment hems. Moss stitch adds a decorative relief and is easy to master after a few simple projects.
Cables involve crossing groups of stitches: a cable needle holds stitches in front or back while you knit the following ones, creating a spiral or crossed effect. While often perceived as complex, cabling relies on the same principles as basic stitches, just with extra stitch management.
Beginners can start with simple 3 or 4-stitch cables and gradually increase the difficulty. They add a professional touch to beanies or scarves while reinforcing the fabric's structure.
The Gauge Swatch: The Step You Can't Skip
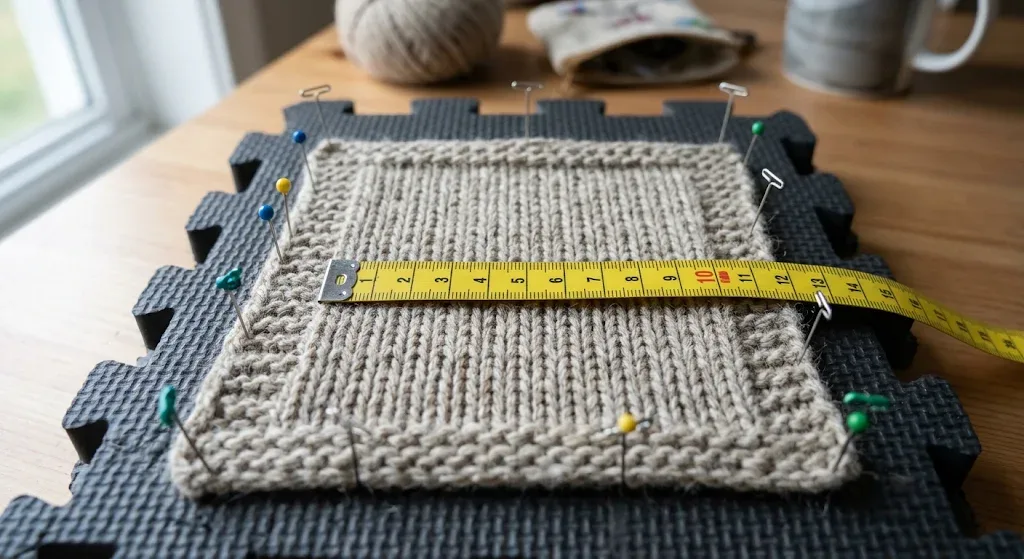
Knitting a square of at least 12x12 cm (approx. 5x5 inches) in the pattern's stitch, then blocking it (moistening and gently stretching to set the stitches), allows you to verify your actual gauge. This step, often skipped, prevents the disaster of discovering too late that your garment is way too small or too large.
Count the number of stitches and rows over 10 cm (4 inches) in the center of the square to compare with the pattern's instructions. A difference of more than 10% means you need to adjust your needle size or yarn tension.
If your gauge differs from the pattern, you have two options: change your needle size (larger for a looser fabric, smaller for a tighter fabric) or adjust your tension by knitting more or less tightly.
For example, if your gauge is 18 stitches per 10 cm but the pattern calls for 22, you should use smaller needles or tighten your tension. Conversely, if your gauge is too loose (fewer than 18 stitches), you'll need larger needles. This adjustment is critical for clothing, where the fit must match the body measurements.
The swatch also validates the yarn's behavior, the drape of the fabric, and the ease of knitting. A yarn that is too slippery or too thick can make a project difficult, while a yarn that is too thin or rigid will be uncomfortable to wear.
For instance, a baby yarn (soft and light) is better for a summer scarf than a winter sweater. Finally, testing a swatch allows you to anticipate corrections: a fabric that is too stiff or stitches that are too loose can be fixed at the start, saving you from ripping out 20 hours of work.
Reading and Adapting a Knitting Pattern
A knitting pattern is divided into several key elements: the supply list (yarn type, needle size, accessories like markers), the available sizes (usually indicated by chest or bust circumference), the target gauge (stitches and rows per 10 cm), the finished measurements (length, width, sleeve or chest circumference), as well as abbreviations and symbols.
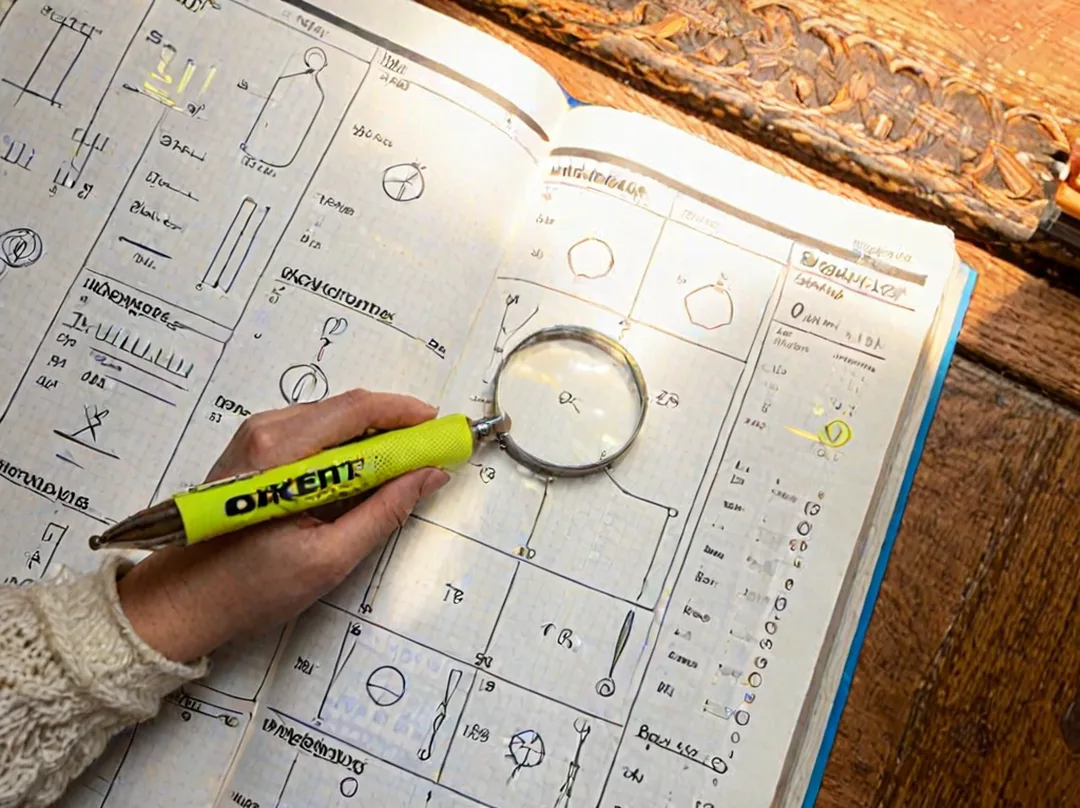
This information allows you to plan necessary adjustments before you even cast on.
The size you choose doesn't always correspond to your standard clothing size, but rather to the bust or chest circumference of the finished model. For example, a sweater should have positive ease (5 to 15 cm depending on the style) to be comfortable.
For an adult beanie, measure the head circumference and subtract 2 to 4 cm of negative ease: the hat should hug the head without being too tight. How do you calculate the size of a beanie? Measure the head precisely at the eyebrow level, then subtract 2-4 cm to find the ideal circumference for the brim.
Calculating the number of stitches to cast on is based on your gauge and desired width. Divide the number of stitches in your gauge (per 10 cm) by 10, then multiply by the desired width in centimeters.
The result should be rounded to the nearest multiple of the pattern (e.g., a multiple of 4 for 2x2 ribbing). How many stitches should I cast on? For example, if your gauge is 22 stitches per 10 cm and you want a 50 cm wide sweater: (22 × 5) = 110 stitches, then adjust for the pattern (e.g., 108 stitches for a multiple of 4).
The height of an adult beanie usually varies between 18 and 22 cm (from the brim to the top before decreases), while a child's beanie is 14 to 16 cm and a baby beanie is 12 to 14 cm.
These values are indicative; a beret without decreases will be shorter (10-12 cm), while a pointed model will require extra height for the decrease rows. How tall should a beanie be? Always check the pattern measurements, but adjust based on the desired shape (e.g., a flat top will have a more uniform height).
Adapting a pattern involves re-doing the gauge swatch if you change the yarn (a thicker yarn requires fewer stitches than a fine yarn), or adjusting the length and width.
To change the length, add or remove rows before the armholes or the crown; to change the width, recalculate the number of stitches. How do I calculate the stitches for a beanie? Multiply the target head circumference (e.g., 56 cm) by your gauge stitches per 10 cm (e.g., 22), then divide by 10: (56 × 2.2) = 123.2 stitches, rounded to 124 (a multiple of 4 for 2x2 ribbing).
Understanding Common Abbreviations and Symbols
Common English abbreviations include st for stitch, row for row, k for knit, p for purl, inc for increase, dec for decrease, rep for repeat, and asterisks (…) to indicate a sequence to be repeated. For example, " k2, p2; rep from * to * "* means to knit two stitches, purl two stitches, and repeat that sequence across the row. These standardized codes prevent ambiguity and speed up the reading process.
Charts (symbol grids) are read from the bottom up with a specific logic: right-side rows (odd) are read right to left, while wrong-side rows (even) are read left to right. Each square in the chart represents one stitch, and symbols (squares for knit, diamonds for purl, circles for increases, etc.) guide the work visually. Beginners should practice simple motifs before attempting complex charts, such as those for fancy stitches or cables.
Casting On, Knitting, and Assembling the Pieces
To begin constructing your project, you can choose to knit the back and front separately for a flat sweater. This classic method requires final assembly by seaming. Alternatively, you can knit the entire body in one piece up to the armholes using circular needles to knit in the round. This technique eliminates side seams, resulting in a smoother look and a more homogeneous structure.
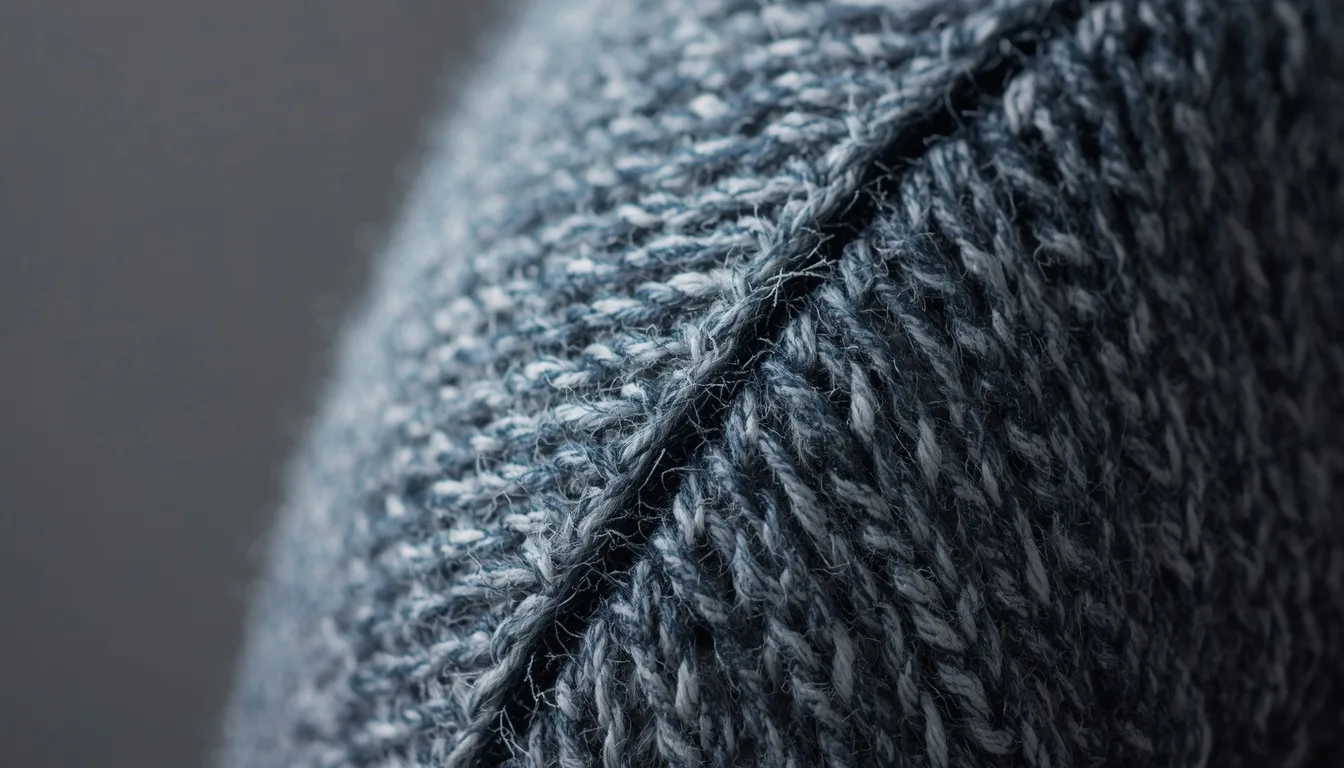
Once the body is complete, you must shape the armholes to allow room for the arms. Depending on the pattern, you can bind off stitches on each side to create a "drop shoulder" effect. Another approach is to perform regular decreases, as seen in raglan construction. This shaping step is crucial for defining the silhouette and ensuring a comfortable fit.
Sleeves can be created in several ways. You can knit them separately and sew them on (set-in sleeves). Another option is to pick up stitches along the armhole directly on the existing garment. Finally, in raglan construction, the sleeves are integrated into the body from the start. The choice depends on the desired style and technical difficulty.
To finish a head accessory, you need to know how to decrease the crown of a beanie. Distribute regular decreases (k2tog) over 4-6 rows, then pull the yarn through the remaining stitches. This technique closes the top neatly without leaving holes. A balanced distribution of decreases ensures a rounded, harmonious shape.
Final assembly requires precision. Use an invisible seam, such as the mattress stitch, to join the sides and shoulders. For sleeves, a backstitch or mattress stitch is preferred. Remember to weave in all ends, threading them at least 5 cm (2 inches) into the seam. My beanie is too big: what should I do? You can steam block it while stretching it less, add a tighter row of ribbing at the edge, or restart with fewer stitches.
Finally, pick up stitches for the neckline. If you plan on 1x1 ribbing, use an even number of stitches; a multiple of 4 is needed for 2x2 ribbing. Knit 2 to 4 cm of the border before binding off loosely. Which border should I choose for a beanie? 1x1 or 2x2 ribbing (3-5 cm) for elasticity, or a rolled edge (stockinette) for a casual style.
Finishing and Care: From Knitting to a Finished Garment
Blocking (wet blocking or steam blocking) is a key step in finalizing your knitted garment. By gently moistening the knit with lukewarm water, lightly stretching it to even out the stitches, and letting it dry flat, you achieve stable dimensions and well-defined patterns.
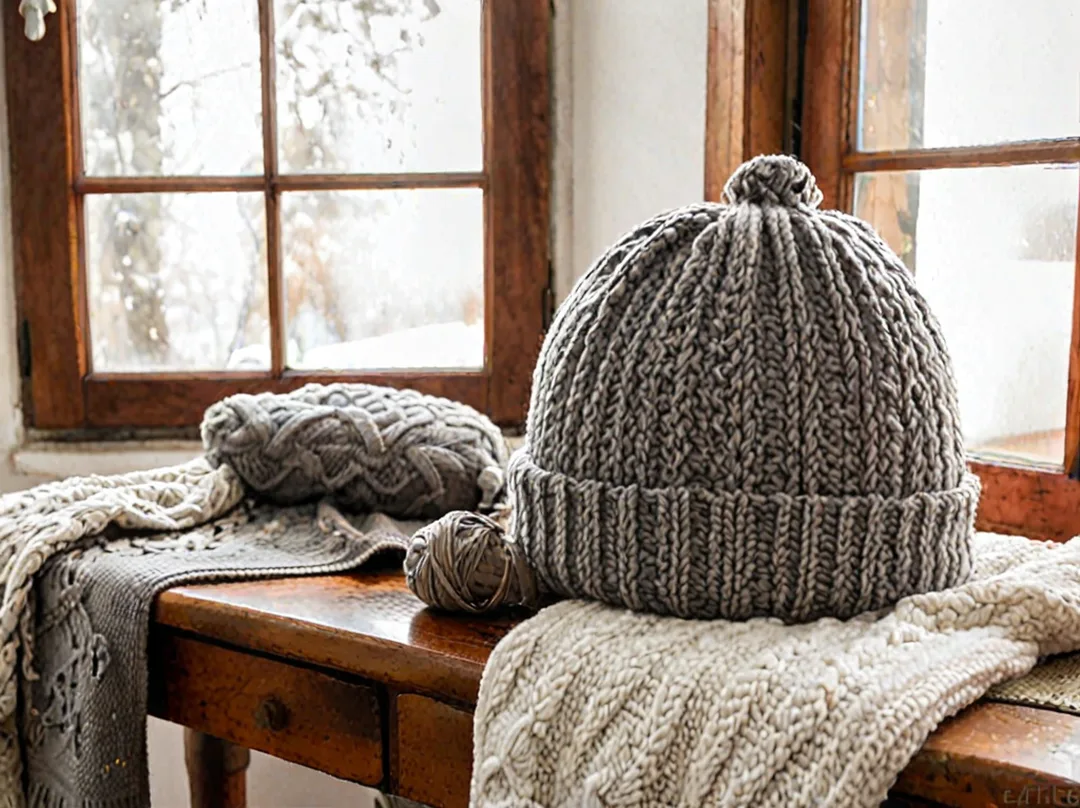
This technique is indispensable for correcting distortions and providing a professional finish, especially for lace work or textured stitches. For superwash wools, a machine wash at 30°C (86°F) on a gentle cycle can also help set the shape.
Managing your ends is just as crucial for a durable garment. After every seam, systematically weave in the ends on the wrong side, following the path of the stitches for 5 to 8 cm (2-3 inches) before changing direction. Avoid visible knots: trim the excess closely and use a yarn of the same color for an invisible finish. This ensures that the seams hold up during washing.
Care depends entirely on the fiber used. For superwash wool, a machine wash at 30°C on a gentle wool program is sufficient, followed by moderate spinning.
Untreated wools, such as cashmere or alpaca, require hand washing in lukewarm water without wringing, and drying flat on a towel. To prevent your beanie from losing its shape after washing, spread it on a flat surface while slightly damp and regularly reshape it to its blocked dimensions. Never use a dryer, even for resilient fibers.
Storing your knits properly extends their life. Fold them carefully (never hang them on a hanger to avoid stretching) and store them in a cotton or linen bag, perhaps with a lavender or cedar sachet to repel moths.
Avoid direct sunlight, which can yellow the fibers, and store garments in a well-ventilated area. What is the best yarn for a baby beanie? Choose superwash merino (machine washable) or a cotton/linen blend for summer: these fibers combine softness, thermoregulation, and ease of care. For winter, prefer a thick wool like alpaca, but ensure it has an anti-pilling treatment.
FAQ
How do I start knitting with no prior experience? Start with a garter stitch swatch using 5mm needles and a light-colored medium weight yarn. Learn to cast on (long-tail method), knit, and bind off. YouTube (e.g., Garnstudio) offers great free visual step-by-steps.
How many skeins do I need for an adult sweater? In medium weight (worsted): 600-900m depending on size (S to XL) and length. In bulky: 400-600m. Always check the yardage on the pattern and buy 10% extra for the swatch and unexpected needs.
Why are the edges of my knitting curling? Stockinette (knit/purl) naturally curls. Solution: add 3-4 stitches of garter stitch, seed stitch, or ribbing as a selvedge edge, or steam block the piece after finishing.
How do I fix a dropped stitch several rows down? Use a crochet hook: insert it into the dropped stitch, catch the horizontal bar of the row above, and pull it through. Repeat row by row until you reach the current row, then place it back on the needle.
What is the difference between flat knitting and knitting in the round? Flat knitting: working back and forth on straight or circular needles (knit on the right side, purl on the wrong side). Knitting in the round: a continuous spiral on circular or double-pointed needles (always knitting for stockinette), eliminating side seams.
How can I tell if my wool will felt in the wash? Test it: wash a swatch in the machine on a wool program at 30°C. If it shrinks and hardens, it is non-superwash = hand wash only. A "superwash" or "machine washable" label guarantees it is safe for the machine.
Can I mix two different yarns in one project? Yes (holding yarn double), but make a swatch: different fibers, twists, and dyes react differently to blocking and washing. Using the same yardage per 100g is recommended to avoid unevenness.
Sources
- Garnstudio — Video: starting a garment in brioche stitch
- Tricotez-moi — Tips for choosing easy patterns
- We Are Knitters — 6 advanced techniques for garments – blog.weareknitters.fr
- La Droguerie / Lady Laine — How to knit a beanie (shapes, yarns, calculations)
- Les Triconautes — Knitting a scarf (stitches, yardage, time, basics)
- ADEME Base Carbone — Wool emission factors (organic/conventional) – data.ademe.fr
See Also
- My first knitted sock!
- Hand-knitted gift ideas
- Knitted cardigans and jackets
- Hiking and knitting in Vermont